
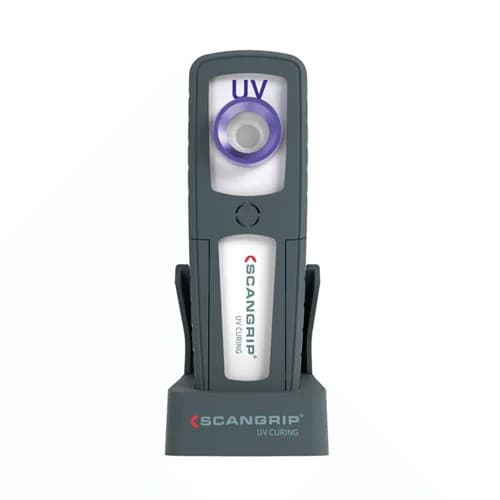
The ScanGrip UV-Light curing lamp is a compact, rechargeable UV LED lamp that cures UV filler, UV primer, adhesives and coatings. According to ScanGrip, a curing cycle takes about one minute. Because no heat builds up on the panel, you can work on plastic parts and other heat-sensitive areas too. If you want a UV lamp to cure filler on a stone chip or a small filler repair, this is the lamp for the job.
UV materials do not air-dry and need no hardener. They cure as soon as UV light reaches them. That means you decide when the layer cures: once you have finished applying it, rather than waiting on a reaction time. The lamp emits at 390 to 400 nm. Check the datasheet of your UV product to make sure it is meant for curing with UV LED.
Key specs of the ScanGrip UV-Light
Feature | Value | What it means for you |
|---|---|---|
Type | Rechargeable UV LED lamp | You work cordless, right where the car stands |
Curing time | About 1 minute | A short wait per repair |
Light field | 10 cm diameter at 6 cm distance (75 cm²) | Suited to small and medium repairs |
Wavelength | 390 to 400 nm | Check that your UV product cures at this wavelength |
Battery | Up to 1.5 hours at full power, about 4 hours to charge via USB | One charge covers several repairs of about a minute each |
Head and mounting | Tilts 180 degrees, swivel hook and magnet | You aim the light without holding it |
Lens | Replaceable, solvent-resistant glass lens | A scratched lens is yours to swap |
Indicator | Battery indicator | You see up front whether the charge is enough |
How to do it
Prepare the surface. Key the repair area, degrease it and mask the edge. Wear clean gloves so no grease or silicone ends up on the panel.
Apply the UV material thinly. Spread the UV filler or UV primer in thin, even layers and stay within your product's maximum layer thickness. Pitfall: a layer that is too thick cures on the outside and stays soft underneath.
Charge the lamp. Check the battery indicator to see whether there is enough charge for your job. Charging takes about 4 hours, so put the lamp on the charger the evening before.
Position the lamp. Hang it from the hook, clip it to a metal part with the magnet or hold it in your hand. Tilt the head until the light falls straight onto the repair. The light field is 10 cm wide at 6 cm distance, so keep to that distance.
Cure. Switch the lamp on and leave it for about a minute, or as long as the maker of your UV product specifies. If the repair is larger than the light field, work in sections with a small overlap.
Check and finish. Feel whether the layer is hard and sand it as you would normal filler. Then move on to primer and paint. Look over the result under a good inspection light first, so you spot pinholes and sanding scratches before you spray.
Common mistakes and tips
Too much distance. The light loses strength the further away you go. Keep about 6 cm and do not move the lamp while it cures.
Layers that are too thick. Build up with two thin layers, curing each, rather than one thick layer.
A large panel in one go. The lamp is made for small and medium areas. Divide a bigger repair into sections and take your time on each.
A dirty lens. Dust or filler residue on the glass lets less light through. Wipe the lens clean with a soft cloth before you start.
A flat battery halfway through. Check the indicator beforehand and top up if in doubt. The lamp runs up to 1.5 hours at full power.
What to combine the ScanGrip UV-Light with
For filler and primer work, wear silicone-free nitrile gloves such as the COLAD black nitrile gloves. Sanding cured filler calls for respiratory protection, for example the Sundstrom SR900 basic set with P3 filter. Afterwards, check how smooth your repair is with the Chemical Guys Ultra Bright inspection light.
You will find more lamps and workshop kit in the work lights and stands category. To see which lamp suits which job, read our advice on choosing a detailing light. If a dust nib or run is left in the paint after the repair, removing dust nibs and runs from paint explains what to do.