
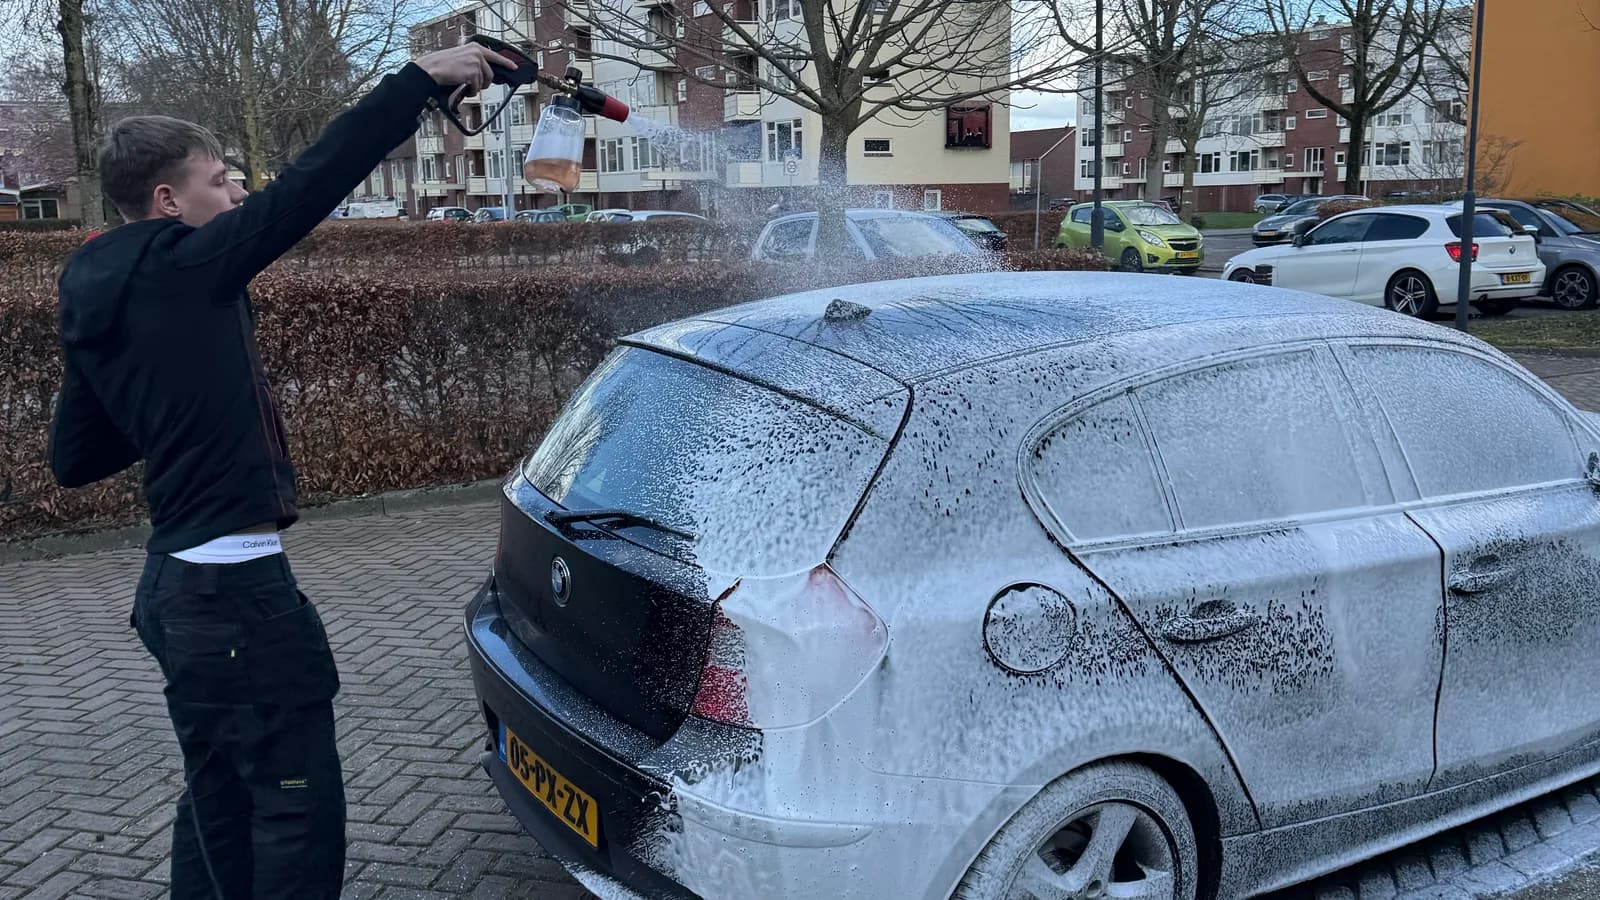
Snow foam is a thick layer of foam you spray onto a dry or wet car before you touch it. The foam loosens grit, dust and dirt and rinses most of it away along with the heaviest soiling, so there is far less left to remove by hand. It is exactly that loose dirt that causes scratches during the wash, so a good pre-wash with snow foam is the simplest way to keep your paint scratch-free.
One thing to be clear about: snow foam does not replace the wash. The foam does the heavy lifting, after which you still wash with a wash mitt and shampoo. Think of it as the step that makes your car safe to touch. Below you will read how to apply it, how much product you need and which mistakes are worth skipping.
Quick facts
A pre-wash for fewer scratches: snow foam loosens the worst dirt so you do not drag it across the paint by hand.
You need a foam cannon on a pressure washer, or a pump sprayer if you do not have one.
Work out of the sun on cool paint, and never let the foam dry on.
How to use it
cool paint, out of the sun. Start with a car parked in the shade and paint that is not warm. On hot paint or in full sun the foam dries too quickly and leaves streaks. Give the car a quick rinse with water first if you like, so the loose grit already washes off before you start. Pitfall: snow foam on a scorching bonnet in the sun works against you and can leave marks.
dosing and mixing. Fill the foam cannon with the right ratio of snow foam and water. Exactly how much depends on the product, so read the label, but as a rough guide aim for a few centimetres of product in the bottle, topped up with water. Too little product gives a thin, watery layer that loosens nothing, which is the most common mistake. You want a thick, clinging layer that stays on the car.
apply from the bottom up. Apply the foam from the bottom upwards. The lower panels, sills and bumpers are the dirtiest, so you want them under the foam first, where they soak the longest. Make sure the whole car sits under an even layer. Then let the foam dwell for a few minutes, but not so long that it dries. Pitfall: letting the foam dry in the sun leaves marks instead of clean paint.
rinse thoroughly. Rinse the foam off with the pressure washer or a garden hose, this time from the top down. That way you carry the loosened dirt down and away, and keep the top of the car, where the wash mitt goes first, the cleanest. Take your time and rinse until all the foam and visible dirt is gone.
only now the wash. After the pre-wash the car is safe to touch. Only now do you go over the paint with a wash mitt and shampoo, ideally using the two-bucket method. Because the worst of the dirt is already gone, there is far less chance of dragging anything across the paint. How to do that wash scratch-free is in our separate guide on washing your car without scratches.
Foam cannon, pump sprayer or hand foamer
The thickest, best foam comes from a foam cannon on a pressure washer. The high pressure mixes air through the product and lays down a clinging layer. If you do not have a pressure washer, you can use a pump sprayer: the foam is thinner and works a little less aggressively, but as a pre-wash it still does the job. A simple hand foamer is the entry option for small jobs. More important than the tool is that you lay down a real, generous layer and do not let it dry.
Frequently asked questions
Does snow foam work without a pressure washer?
How much snow foam do I need?
Do I need to pre-wash with snow foam every time?
Can I use ordinary shampoo as snow foam?
Can I use snow foam in frost or winter?
There are marks left after rinsing. What went wrong?
See also
About this guide
This guide comes from T&H Car Care, a detailing business in Borne, the Netherlands. Pre-washing with snow foam is standard for us before a wash mitt ever touches the car. Questions about your own approach or about which foam suits your pressure washer? You are welcome to drop by.